
Plans Tab
Students and advisors with access can use the Plans tab to make various plans for students. Advisors need to use the "Edit in Planner" button to use the planner tools (students do not need to do this part when accessing the planner).
The planner will default to include the expected number of years for a degree plan. Years can be added or removed if needed.
When opening the planner, there should be a side-by-side view with the planner on the left and the audit on the right. The size of either side can be adjusted by pulling the gray dividing line over. Please note that if one side or the other is made too small, you may lose the view until adjusted back. You can also close the audit view on the right side with the X or Toggle Sidebar button. The Toggle Sidebar button can be used to reopen the audit if desired.
Drag and drop functionality is available to drag classes, courses, and placeholders from the audit to the planner by term. These can be moved around in the planner. Classes, courses, and placeholders can also be entered into the individual terms.
Specific classes (sections) can be added to the planner if the schedule of courses for that term is available. Please note that this does not currently interact with the scheduling functionality in BuckeyeLink - the data comes from the schedule in SIS, but students cannot yet use BDP to officially register for classes.
Courses can also be planned without a specific section. Additionally, requirements can be added to the planner. Being as specific as possible when using the planner is beneficial, but if a student just knows they need to take a major elective, for example, but they do not yet know which specific course they will take, they can plan that requirement.
Classes, courses, and placeholders added to the planner are not visible on the Official audit, but they are visible on the Planned audit.
If the audit sidebar on the Plans tab does not update as classes, courses, and placeholders are added to the planner, you may need to use the refresh button in the upper right corner of the audit:

Planned courses will remain on a student's record in BDP until registered (when they move from planned to official) or the term in which they are planned for has ended. They can also be manually removed (see Removing Planned Courses or a Plan below).
There are multiple ways to use use the planner tool to look at adding or changing a student's programs (what-if functionality). Please note that this does not take the place of making any changes to plans on a student's record - this is still done officially in SIS. Planned audits will remain on a student's record in BDP until removed (see Removing Planned Courses or a Plan below).
Adding an additional plan to an existing audit can be done on the Progress tab or Plans tab with similar functionality. Under the official plan, click + Add program to plan.

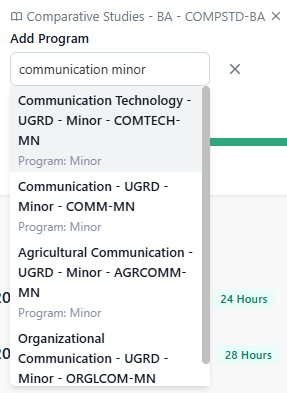
Search for the desired plan to add. Multiple plans can be added one at a time. Plans can be searched for using the title or code.
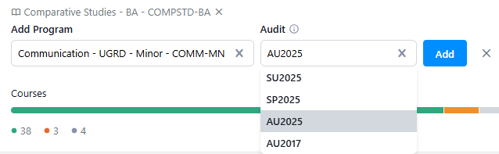
Once the plan has been selected, you will be prompted to select the version of the plan. This only drives the version for this plan, not the entire audit.
If a student is interested in using the planner tool to look at a different primary plan (plus any desired auxiliary plans), an entirely different plan can be created. This needs to be done from the Plan tab.
When in the planner tool, in the upper left corner, there are three dots next to "Primary Plan." Click this and then select "Create a new plan."
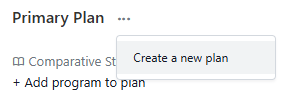
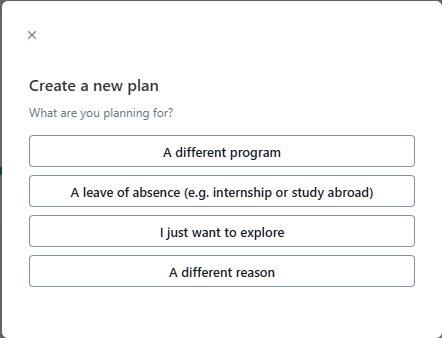
A menu will pop up. Select "A different program."
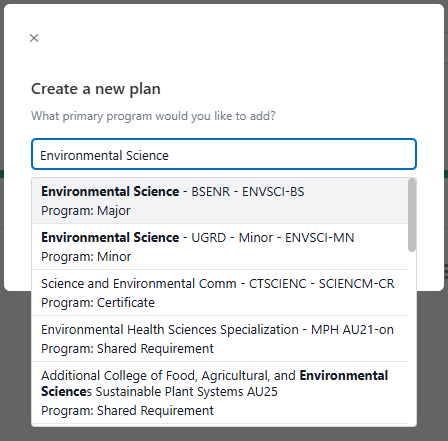
Search for the desired plan to add. Multiple plans can be added one at a time. Plans can be searched for using the title or code.
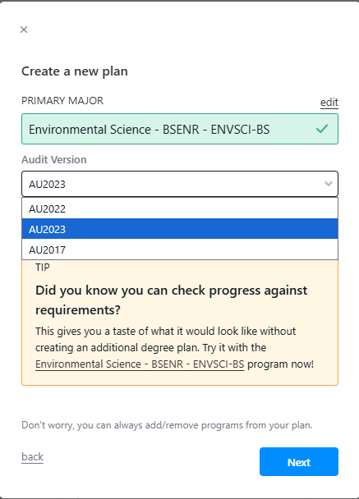
Choose the appropriate version of the selected plan. Click Next.
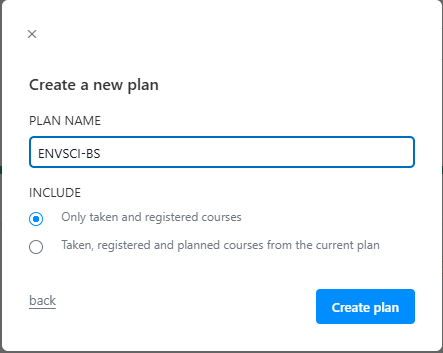
Enter a name for the plan. It can be entered as whatever is helpful to identify it. You can select to only include taken and registered courses or to also include planned courses. Click Create Plan.
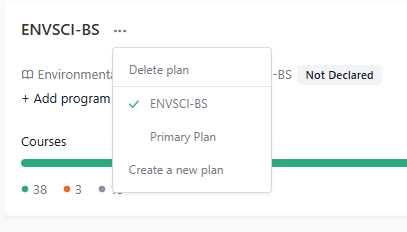
Once created, you can toggle between the options or create more plans in the planner tool. Students can have up to 3 planned versions of their audits.
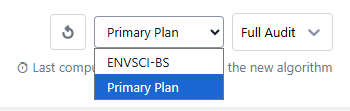
You can also use the Planned audit on the Progress tab and toggle between the planned version of the primary program and any different programs added.
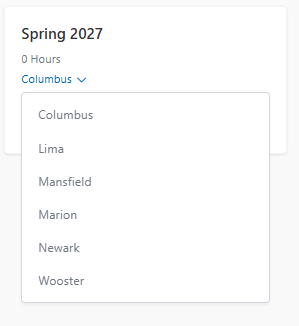
The campus the planner uses for planning specific classes will default to the student's current campus of enrollment. Students who are interested in changing their campus for an upcoming term can change the campus in their planner. This does not replace the need for using the official campus change processes.
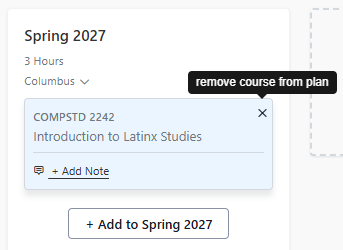
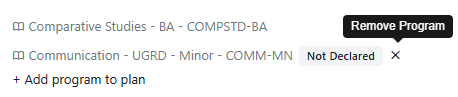
Planned courses and plans can be removed from the planner if no longer needed or wanted.
Remove a course:
Remove plan added to primary plan:
Remove plan created as a different plan: